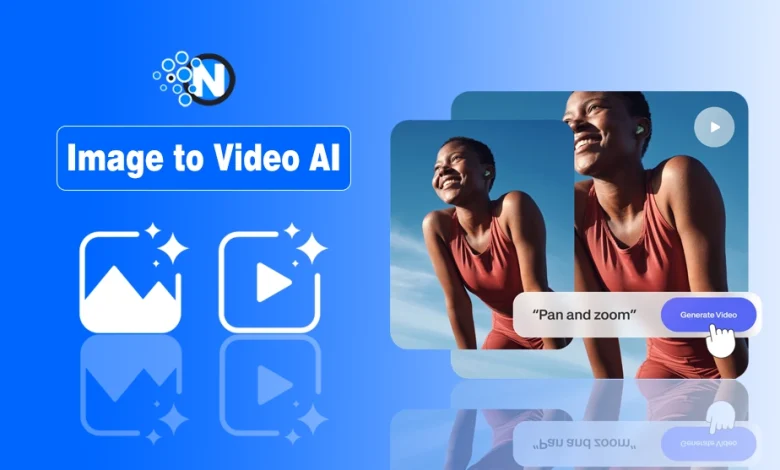
Image-to-video AI technology has opened up possibilities to creators, businesspeople, and ordinary users. Complex video editing software and technical expertise are no longer required to create what can be done with a couple of clicks.
You can animate still photos, create marketing content, and even experiment with storytelling, and AI image-to-video tools allow them to do so in an accessible and efficient way.
In this tutorial, I will walk you through all the steps of how to turn the still images into moving, shareable videos. We will also discuss tips, tools, and best practices to maximize results.
What is Image to Video AI?
Image-to-video AI tools like Vyond AI are generative AI technology that converts a static image into a moving video using artificial intelligence.
Instead of manually animating frames, the AI predicts:
- Motion and depth
- Camera movement (zoom, pan, tilt)
- Lighting changes
- Environmental effects (wind, rain, particles)
- Subject animation (faces, objects, background movement)
These systems are powered by advanced diffusion-based video models that significantly improve realism and temporal consistency.
Why Use Image to Video AI?
It is worth questioning why image-to-video AI online free tools are used before delving into the tutorial.
Here are the key reasons:
- Ease of use: No costly software or editing skills are required.
- Speed: Make professional videos in minutes rather than hours.
- Creativity: Animate images, create motion effects, and experiment with distinct styles.
- Marketing Power: Videos will capture more attention than still images on social sites. In fact, AI image generation is already transforming digital marketing in powerful ways
- Affordability: There are numerous platforms that enable you to build without any initial expenses.
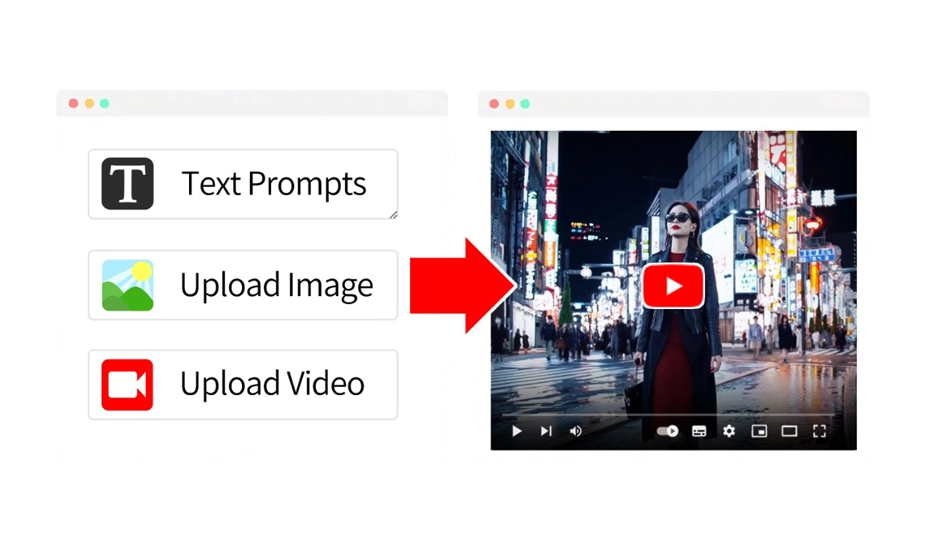
A Step-by-Step Guide to Creating Videos with Image-to-Video AI Tools
Creating videos with image-to-video AI tools is an easy process. The following points explain it all in detail:
Step 1: Choose the Right AI Image to Video Tool
The first thing you need to do is to choose a platform. The most common are AISaver, Runway, Kling, Pika Labs, Fotor AI video generator, and Synthesia, with varied features.
In case you are interested in free and easy-to-use tools, use those platforms that do not have to be downloaded and can be used as direct browser applications.
What to Look For in a Tool:
- Free online access
- No watermarks (or small branding).
- Individualization (period, style, effects of motion)
- Export formats (MP4 is the most common)
Step 2: Gather and Prepare Your Images
The quality of your pictures will affect the outcome of the video. Follow these best practices:
- Take the high-resolution photos with the definite details.
- Use clear images that are not pixelated.
- When using more than one photo, make the lighting and colors the same.
- Pick pictures that have a unifying story.
Pro Tip: To do it professionally, create 3-10 pictures that match the theme of your video.
Step 3: Upload Images to the Platform
Once your images are ready:
- Open your selected AI image to a free online video service.
- Post your pictures with the drag-and-drop tool.
- List them in the sequence you would prefer them to be.
Numerous platforms will automatically introduce transitions, motion effects, or zoom effects. Otherwise, some also enable previews prior to finalizing.
Step 4: Select a Style or Template
Artificial intelligence is commonly used to offer ready-made templates for various uses:
- Slideshow: A Flowy transition between photos.
- Cinematic: Includes dramatic zooms, pans, and filters.
- Social Media: Short, catchy TikTok, Instagram, or YouTube Shorts animations.
- Business: Professional templates of product showcase or presentation. You can even compress PPT files into video format using similar AI-driven conversion methods if you’re working with presentation slides.
Select the most suitable style to achieve your objective. As an example, a cinematic template can be ideal in case you are putting together a wedding memory video. In the case of marketing, use bold, rapid transitions.
Step 5: Add Music and Voiceovers
Your video can be completely changed with music. The majority of AI platforms are able to:
- Select stock music libraries (royalty-free).
- Upload your own soundtrack.
- Adjust volume levels.
If you want narration, you can:
- Record a voiceover directly.
- Have AI-generated voiceovers that are natural.
Step 6: Customize Effects and Text
To make your videos more attractive and engaging, you should customize effects and text. Here’s what you can do:
- Add Text Overlays: Titles, captions, or quotes.
- Apply Filters: Vintage, modern, or cinematic.
- Animated Elements: Motion graphics such as sparkles, highlights, or transitions.
Minimize text, not more than 10 words on a slide, to keep the audience interested.
Step 7: Preview and Adjust
Previewing your videos before finalizing is important. Here’s what you should do in the preview and adjust step:
- Make sure there is a smooth transition.
- Change speed (slow or fast may decrease impact).
- Sync music with visuals.
- Re-check spelling in text overlays.
With the aid of AI, one can easily adjust something and not start anew.
Step 8: Export Your Video
When you’re satisfied with the final draft, export the video from the tool to your device. Here’s how to do it:
- Click Export or Download.
- Select resolution (720p, 1080p, or higher with high-quality tools).
- Save in MP4 format to be compatible with all.
There might be some free platforms that put a watermark. In this case, one might want to select a service such as the image-to-video AI provided by AISaver, where the download can be made free of watermarks.
Best Practices for Success
There are some best practices that you can follow in order to get the best results from an image-to-video creator tool. Here are some of the top ones:
- Keep It Short: 15-60 seconds is optimal with social media.
- Pay Attention to Storytelling: Even the basic slideshows must have a story.
- Best for Platforms: Use vertical videos for TikTok and Instagram, and horizontal videos for YouTube.
- Experiment: Test various templates, effects, and pacing.
Final Thoughts
Image-to-video AI tools can make anyone a creator. You do not require editing skills or costly programs, only your imagination and some pictures. Whether it is projects of personal interest or the work of a professional campaign, it is limited in possibilities.
To create marketing material, capture family photos, or just experiment, AI image-to-video online free options offer the ideal entry point into the digital storytelling realm.
Begin by trying some of the new tech available today with AISaver Image to Video AI, a combination of speed, ease, and professional output. Add your photos, design your video, and share your work. It only takes a few minutes.
People Also Ask
How does Image-to-Video AI work?
It analyzes an image, applies motion prediction, and generates frame-by-frame animation based on prompts like camera movement, lighting, and environmental effects.
Can I use AI to turn images into videos for free?
Yes, many tools like AISaver and Kling AI offer free plans or trial credits, but advanced features usually require paid subscriptions.
What type of images work best for AI video generation?
High-resolution, well-lit, and simple-background images produce the best results. Complex or blurry images may reduce output quality.
How long can AI-generated videos be?
Most image-to-video AI tools currently generate short clips ranging from 5 to 10 seconds, though longer formats are being developed in 2026.
Is Image-to-Video AI useful for business?
Yes, businesses use it for marketing ads, product showcases, social media content, and creative storytelling without expensive production costs.