
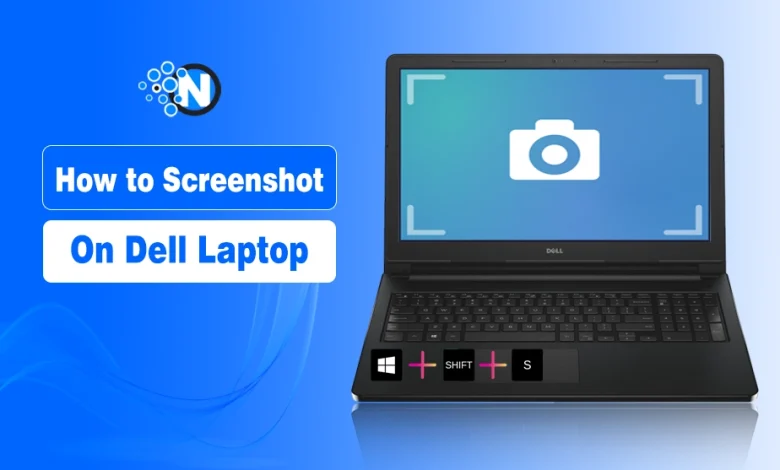
How to screenshot on a Dell laptop is one of the most searched queries on Google and other search engines, as people, especially beginners, face a lot of trouble while performing this task. Learning about this tactic could help you potentially capture essential images, information, and moments present on your screen.
Hence, you can share them seamlessly with other people to grab the solid advantages.
In this blog post, I have listed the basic steps on how to screen capture on a Dell laptop easily without facing issues.
Let’s go through the process!
How to Take a Screenshot On a Dell Laptop
There are several ways you can take a screenshot on a Dell laptop. All of them are highly functional on Windows 10. However, users who are using other operating systems may not find some tips functional. Therefore, it is crucial to upgrade your device in terms of the operating system. It will also have other advantages, like enhanced security and privacy.
Before moving forward to the ways to know how to screenshot on a Dell laptop, it is necessary to check that you have opened the desired window you want to capture. In this way, you can streamline the further procedures.
1 – How to Screenshot on Dell Laptop and Paste Using Print Screen (PrtSc) Key
This tactic is fully functional on all operating systems and works on Dell laptops. The top advantage of this method is that it is exceptionally simple and can be performed in the blink of an eye. The steps to follow are mentioned below.
- Find the “PrtSc” or “Print SC” button on the keyboard of your Dell laptop.
- To capture the whole screen, simply press this button, while to capture only the active window, press “Alt + PrtSc.”
- The captured screenshot will be copied to the clipboard.
- In some Dell laptops, the PrtSc and End options are present on the same button. Under such a case, an additional button, “Fn,” is present. Click Fn and PrtSc simultaneously.
- Open a desired application on your laptop, like Microsoft Paint, Word, or other image editing tools.
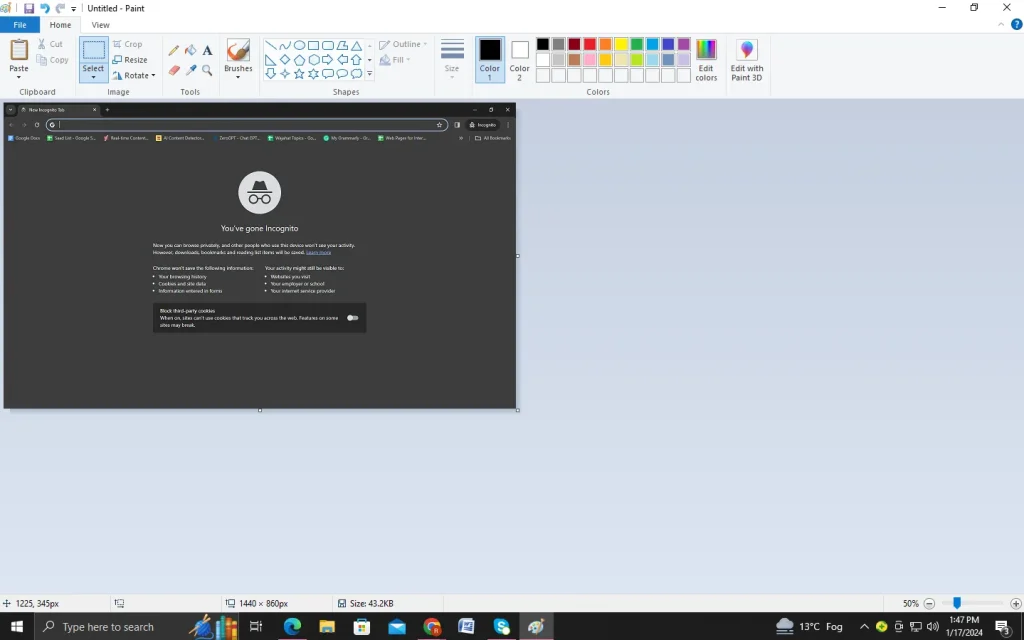
- Paste the screenshot using “Ctrl + V.”
- Then, save the file in the desired location on your storage drive.
2 – Use the Snipping Tool (Only for Windows 10)
Windows 10 comes up with a built-in snipping tool to allow users to capture their screens without facing much trouble. The best part of this tool is that it provides flexible options to take screenshots of your screen. Hence, you can capture only the essential details to share them with others without any negative consequences. The step-by-step guide to utilize this tool is elaborated on below.
- Head to the Start menu on your Dell laptop with Windows 10.
- Search for the Snipping Tool on your device.

- Click on it when it appears in the search results to launch it.
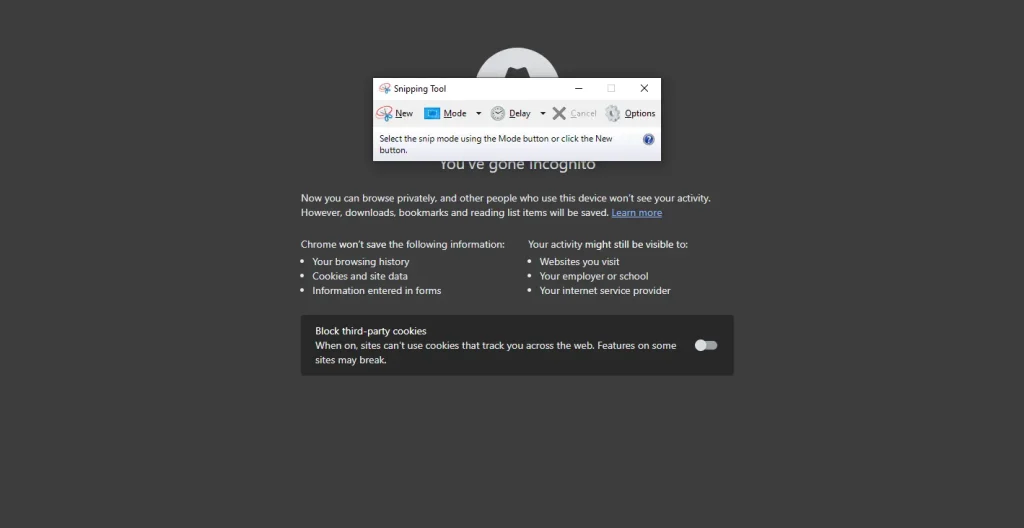
- It will provide you with different options upon opening.
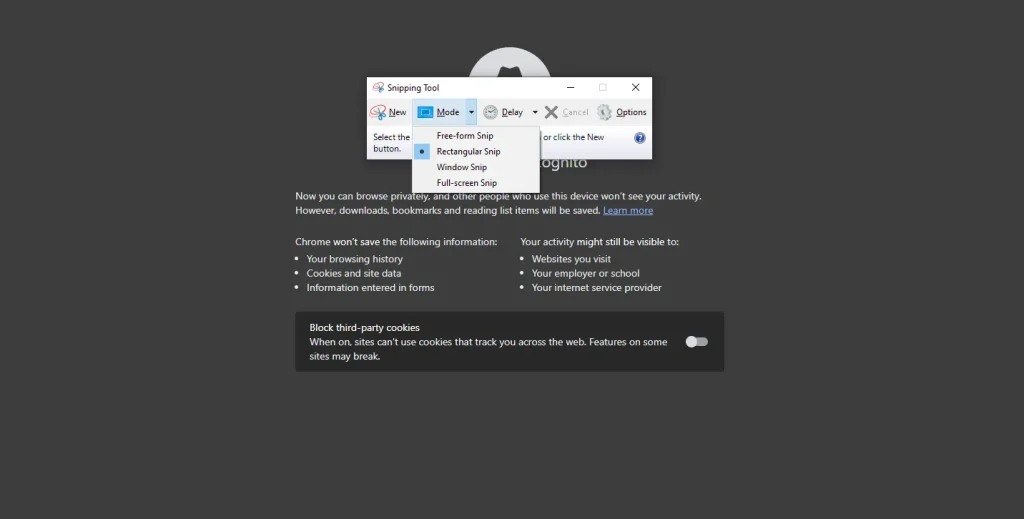
- Choose the type of snip you want, e.g., free-form, rectangular, window, or full-screen.
- Use your mouse or touchpad to capture the desired area.

- After capturing, you can annotate or highlight the unimportant parts of the image.
- Save the screenshot by using the “File” menu. This is how to screenshot on a Dell laptop.
3 – Use Snip and Sketch Tool (Windows 10)
Windows 10 features another tool, named Snip and Sketch, for screenshots on Dell laptops. It provides an enhanced experience to users as it is amazingly easy to operate. However, some people make mistakes while annotating their files and saving them. To help you avoid such challenges, we have detailed a complete series of steps that help you learn how to screenshot on a Dell laptop with the Snip and Sketch tool.
- Click on the start menu and look for the “Snip & Sketch” tool.
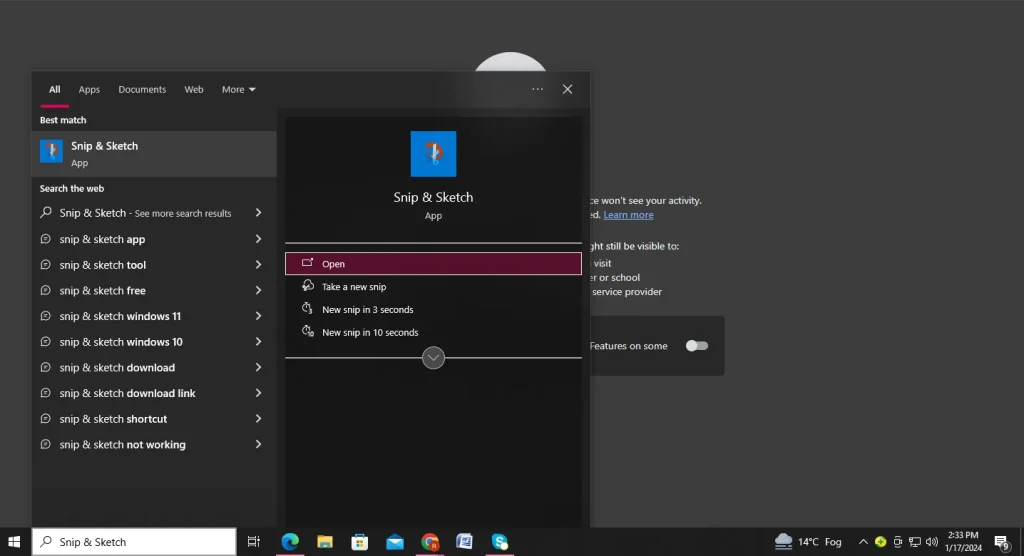
- After finding it, you must click on it to open its interface.
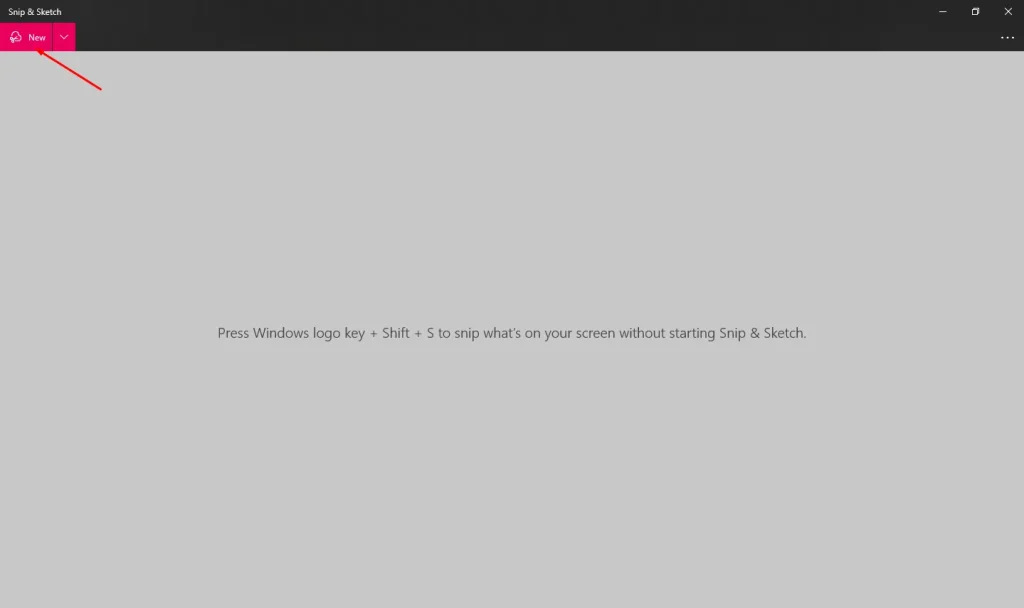
- Click on the “New” button present in the top left corner.
- Mark the area you want to capture. The tool will crop it automatically.
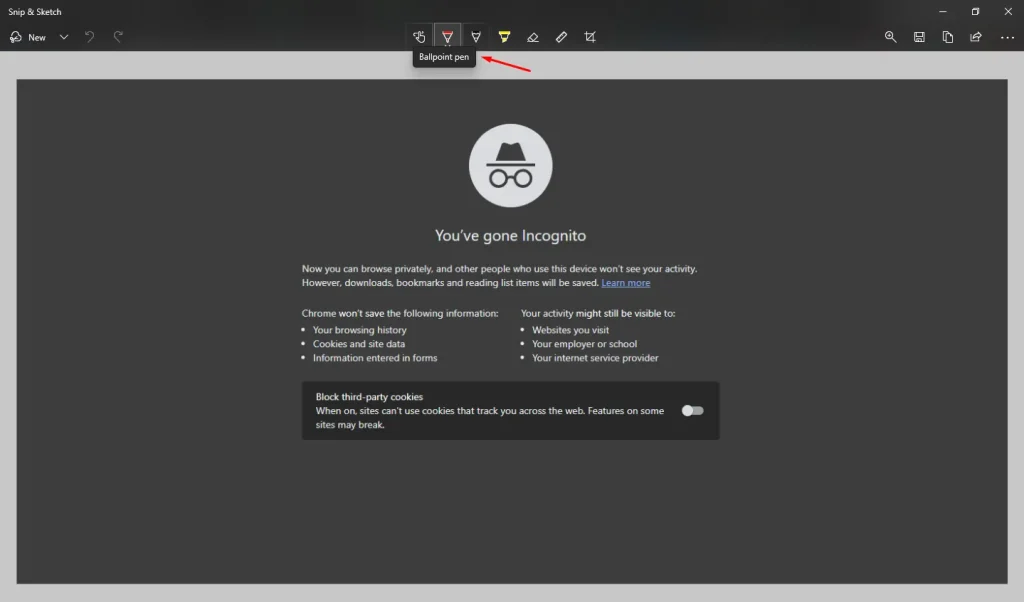
- Use the annotation tools to perform the necessary activity on the screenshot.
- Lastly, save the screenshot by using the available options and in the desired storage space.
One important point to consider is that before clicking on the New button of the Snip & Sketch tool, you should open the window you want to capture in the background. In this way, you can streamline your task.
4 – Use the Dell Screen Capture Tool
Dell has been phenomenal in improving its products’ quality and functioning. Moreover, the current modification has enabled companies to design laptops with a pre-installed screen-capturing tool. Although it is not available on all devices, you must search inside yours to see if it already has one.
5 – Use Third-Party Tools
Many screenshot tools are available on the web, you can download and install easily to screenshot on a Dell laptop. They are very easy to operate, capture high-quality images, and share options. Lightshot, Greenshot, ShareX, and Screenpresso are the top options to go with.
Best Practices for How to Screenshot on Dell Laptop
The following tips will enable you to learn how to screenshot on Dell laptops rapidly and effectively. Learn about the keyboard shortcuts that are commonly used in capturing screenshots.
For example, you must know that pressing “Windows logo key, Shift, and S” simultaneously will enable you to take screenshots of your laptop’s interface by using Snip and Sketch tools without even opening it.
Similarly, pressing “Windows logo key + Fn + PrtSc” will save your screenshot directly to the game bar, from where you can share it seamlessly. Also, you need to be careful when selecting the third-party screen-capturing tool.
Final Verdict
It is not difficult to learn how to take a screenshot on Dell laptop, as there are numerous ways to perform this activity. You only have to learn about the right tactics to streamline this process.
The methods mentioned in this guide are widely applied to all Dell laptops to ensure that users can have an enhanced experience while capturing their favorite moments or essential documents on the screen. You must make sure to save them in the desired folder on your storage drive to view them later.
People Also Ask
How do I screenshot on my Dell laptop?
You can capture a screenshot using the keyboard shortcuts: Press Windows + PrtScn
It captures the entire screen and automatically saves it to: Pictures > Screenshots folder
How do you capture a screenshot on a laptop?
The steps vary slightly depending on the laptop model, but standard methods include:
- Alt + PrtScn: Active window only (clipboard)
- Windows + PrtScn: Full-screen screenshot (auto-saved)
How to screenshot on Dell without using the Snipping Tool?
Common screen capture Dell methods are:
- PrtScn + Fn: For models where PrtScn is a secondary key
- Windows + PrtScn: Saves screenshot directly to Pictures folder
- Alt + PrtScn: Active window copy to clipboard