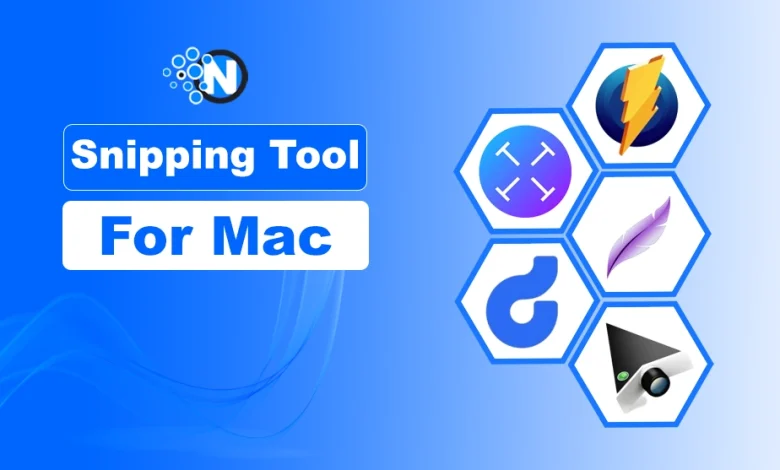
Snipping tools for Mac help users capture a selected portion of the screen, annotate it, and share it instantly. While macOS has a built-in Screenshot tool (⇧+⌘+5), many users prefer third-party snipping apps for advanced features like OCR, cloud sharing, screen recording, and quick editing.
These tools are useful for capturing important information, error messages, text, or visuals that cannot be copied directly.
However, users who switch from a Windows PC to a MacBook or iMac often struggle to find the Mac equivalent of the Windows Snipping Tool.
If you’re looking for the same functionality or need more advanced features, this article covers some of the best snipping tools for Mac you can use.
Snipping Tool For Mac – Top 5 Picks
Below are some of the best snipping tools for Mac in 2026, based on features, ease of use, pricing, and compatibility with macOS.
Top 5 Snipping Tools For Mac
1. TextSniper App
2. Droplr
3. Monosnap
4. Lightshot
5. SnapNDrag
1. TextSniper App
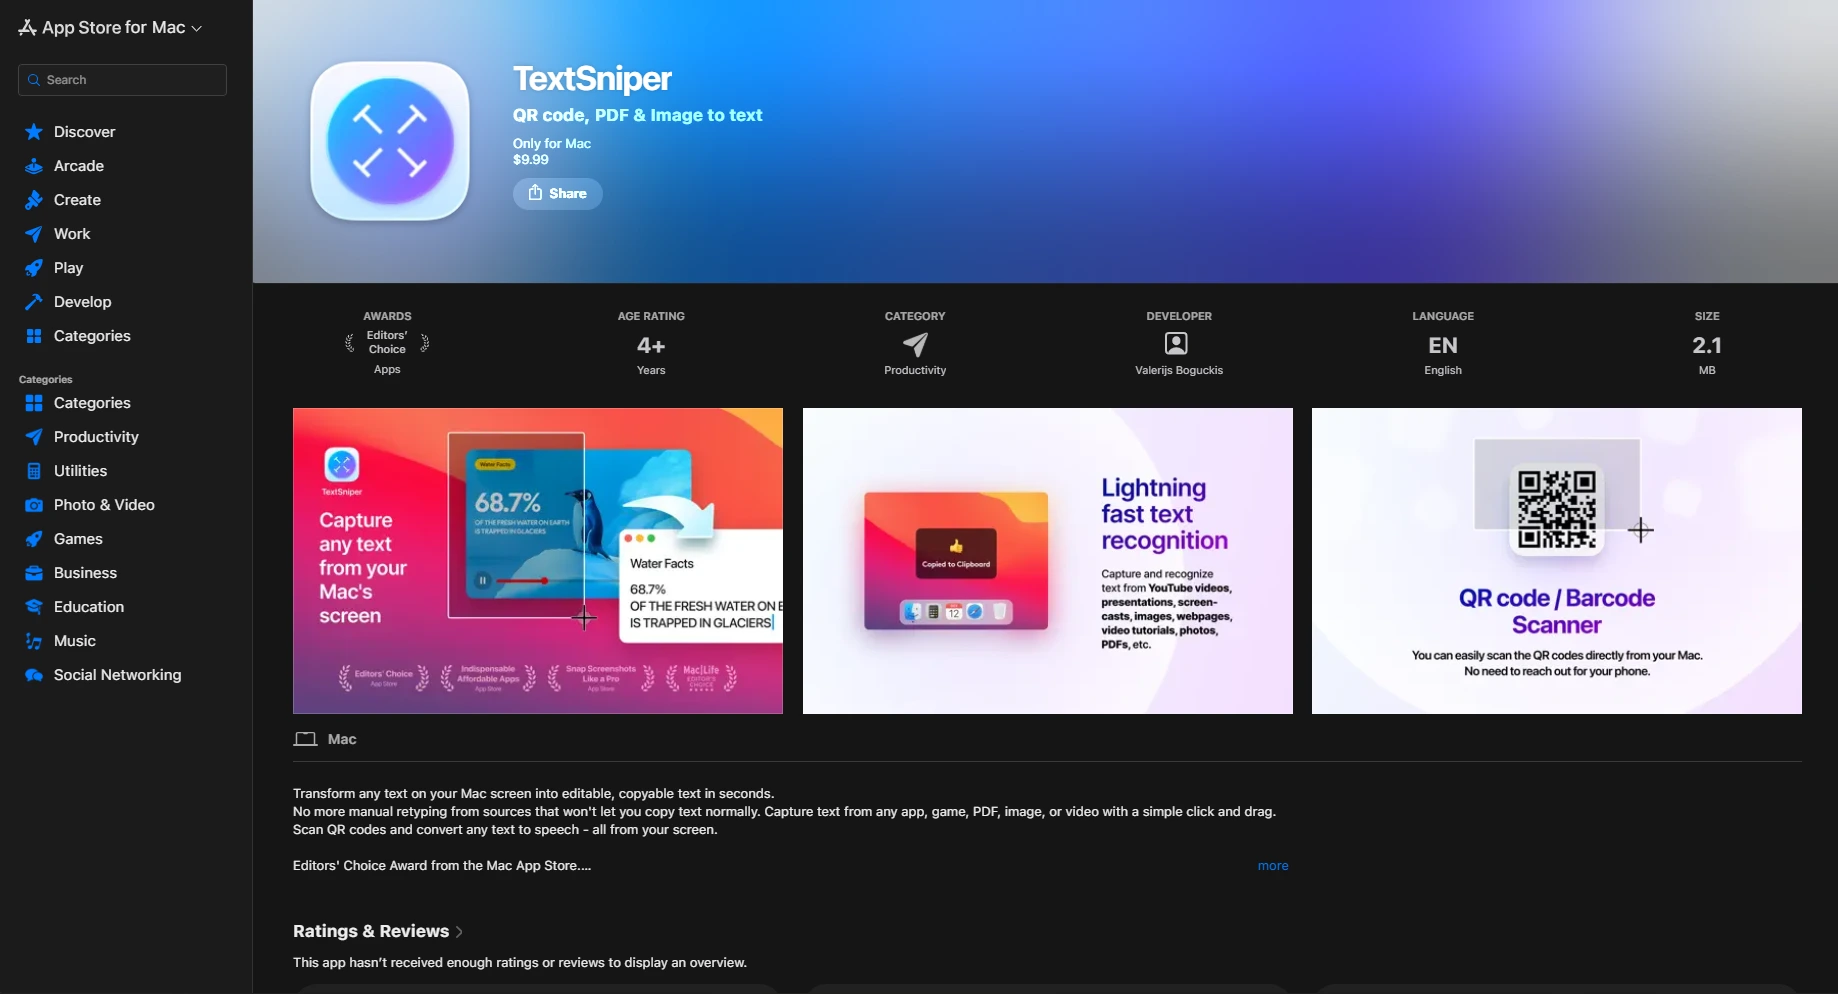
TextSniper is a popular snipping tool for Mac that helps users extract text from files. Its simple interface makes it easy to use, and new users can find tutorials on the official website.
TextSniper is especially useful for extracting text from non-selectable sources like scanned PDFs, presentations, images, and YouTube videos. Its built-in OCR (Optical Character Recognition) makes it useful for students, marketers, and remote teams.
Key Features:
- Extracts text from images, videos, and non-selectable content using OCR technology.
- Works offline and does not require sending content to the cloud for text recognition.
- Supports text-to-speech functionality.
- Scans QR codes and barcodes.
- Offers customizable shortcuts for quick access.
- Supports multiple languages on macOS.
Pricing:
- 1 Mac License: $7.99
- 3 Macs License: $9.99
- Unlimited License: $11.99
2. Droplr
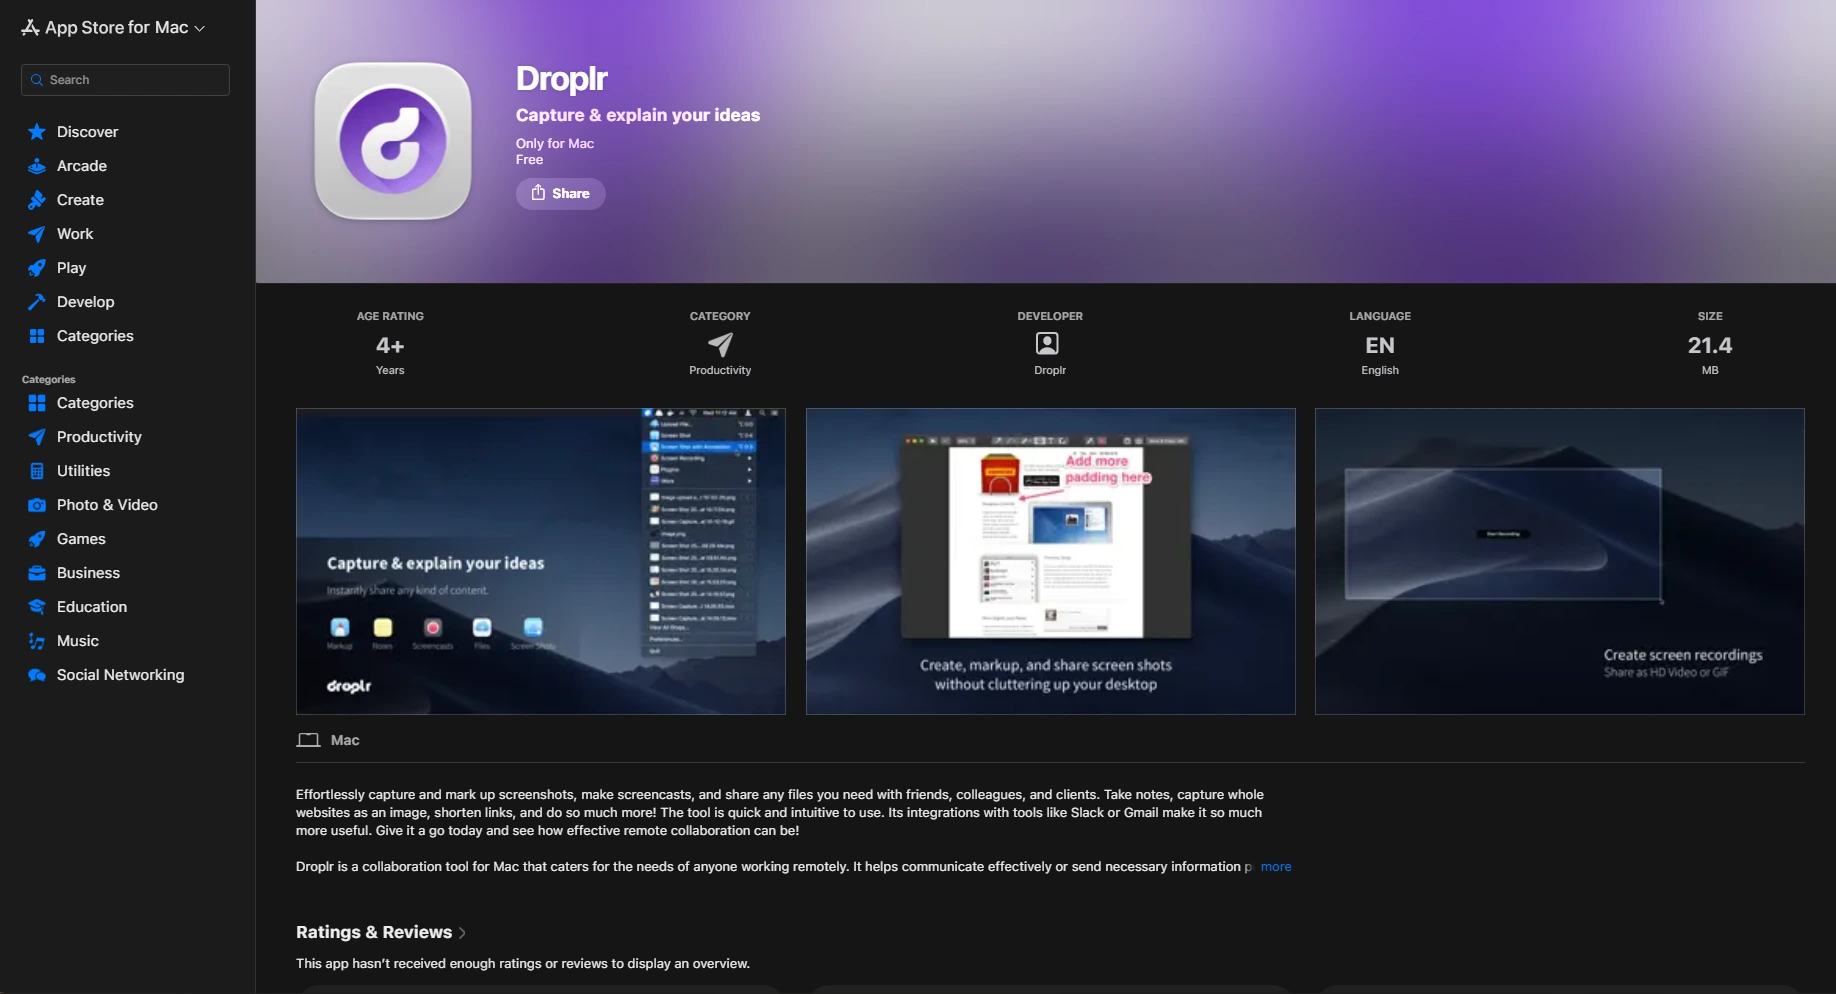
Droplr is a Mac snipping tool designed for screenshot capture, screen recording, and quick sharing. It also offers cloud storage and can record screens and create GIFs.
The tool saves snips and screen recordings directly to the cloud and generates short links for sharing them across different platforms.
Saved screenshots and recordings can be accessed through a Droplr account and organized using tags and boards. This makes it particularly useful for remote teams and digital marketers who frequently share screenshots and recordings.
Key Features:
- Captures screenshots with annotation tools.
- Records screencasts with optional webcam and audio.
- Offers cloud storage for files and screenshots.
- Provides a link shortener for easy sharing.
- Allows file transfers up to 10 GB.
Pricing:
- Pro Plus Plan (Individuals): $6 per month (billed annually) or $8 per month (billed monthly).
- Team Plan (Up to 15 users): $7 per user, per month (billed annually) or $9 per user, per month (billed monthly).
- Enterprise Plan: Custom pricing
3. Monosnap
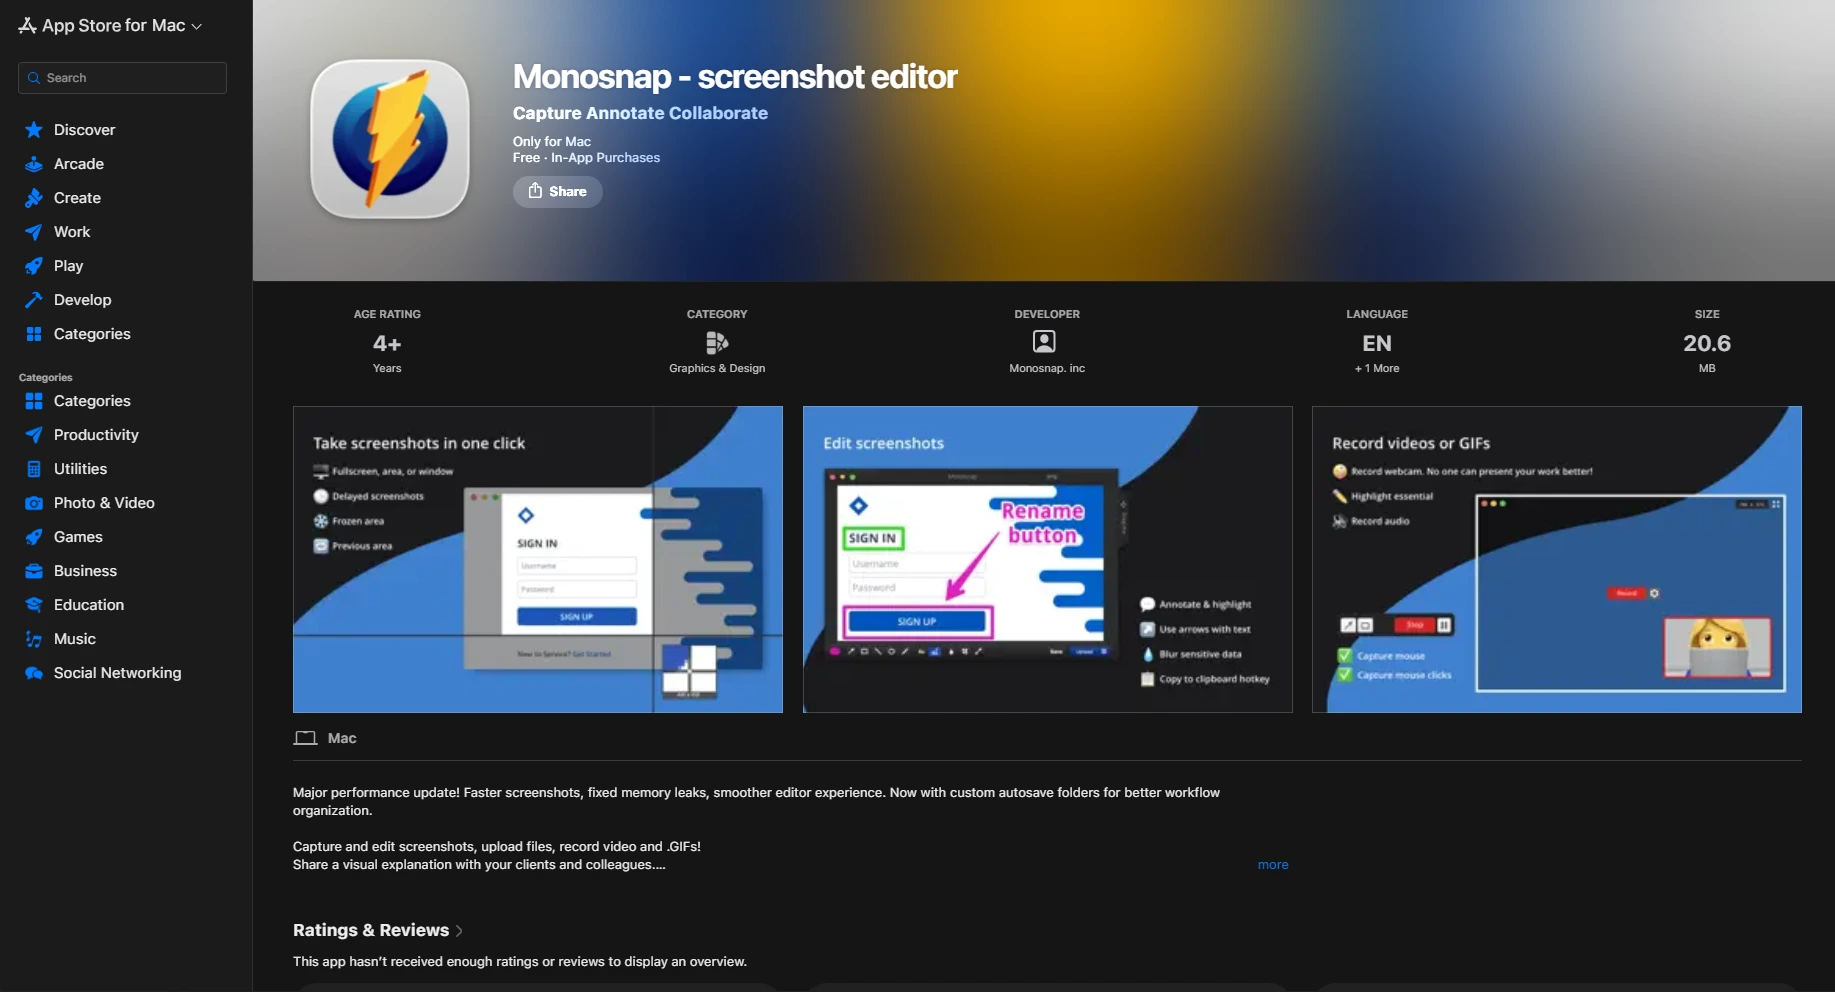
Monosnap is a snipping tool available for macOS and Windows. Individual users can use Monosnap for free for personal use, while commercial plans start at $5 per user, per month.
Beyond screenshots, Monosnap offers screen recording, customizable hotkeys, cloud storage, and tools for hiding sensitive information.
Key Features:
- Captures screenshots (full screen, window, or selected area) and records videos or GIFs.
- Includes annotation tools like blur and highlight.
- Integrates with cloud storage services like Google Drive and Dropbox.
- Offers OCR for text recognition.
- Supports hotkeys for quick actions
Pricing:
- Free Plan: $0 per month (for personal non-commercial use only, includes 2 GB storage).
- Non-Commercial Plan: $2.50 per month, billed yearly (for personal use with advanced integrations and 10+ GB storage).
- Commercial Plan: $5 per user, per month, billed yearly (for business and team accounts).
- Enterprise Plan: Custom pricing (for advanced management, SSO, and custom SLAs).
4. Lightshot
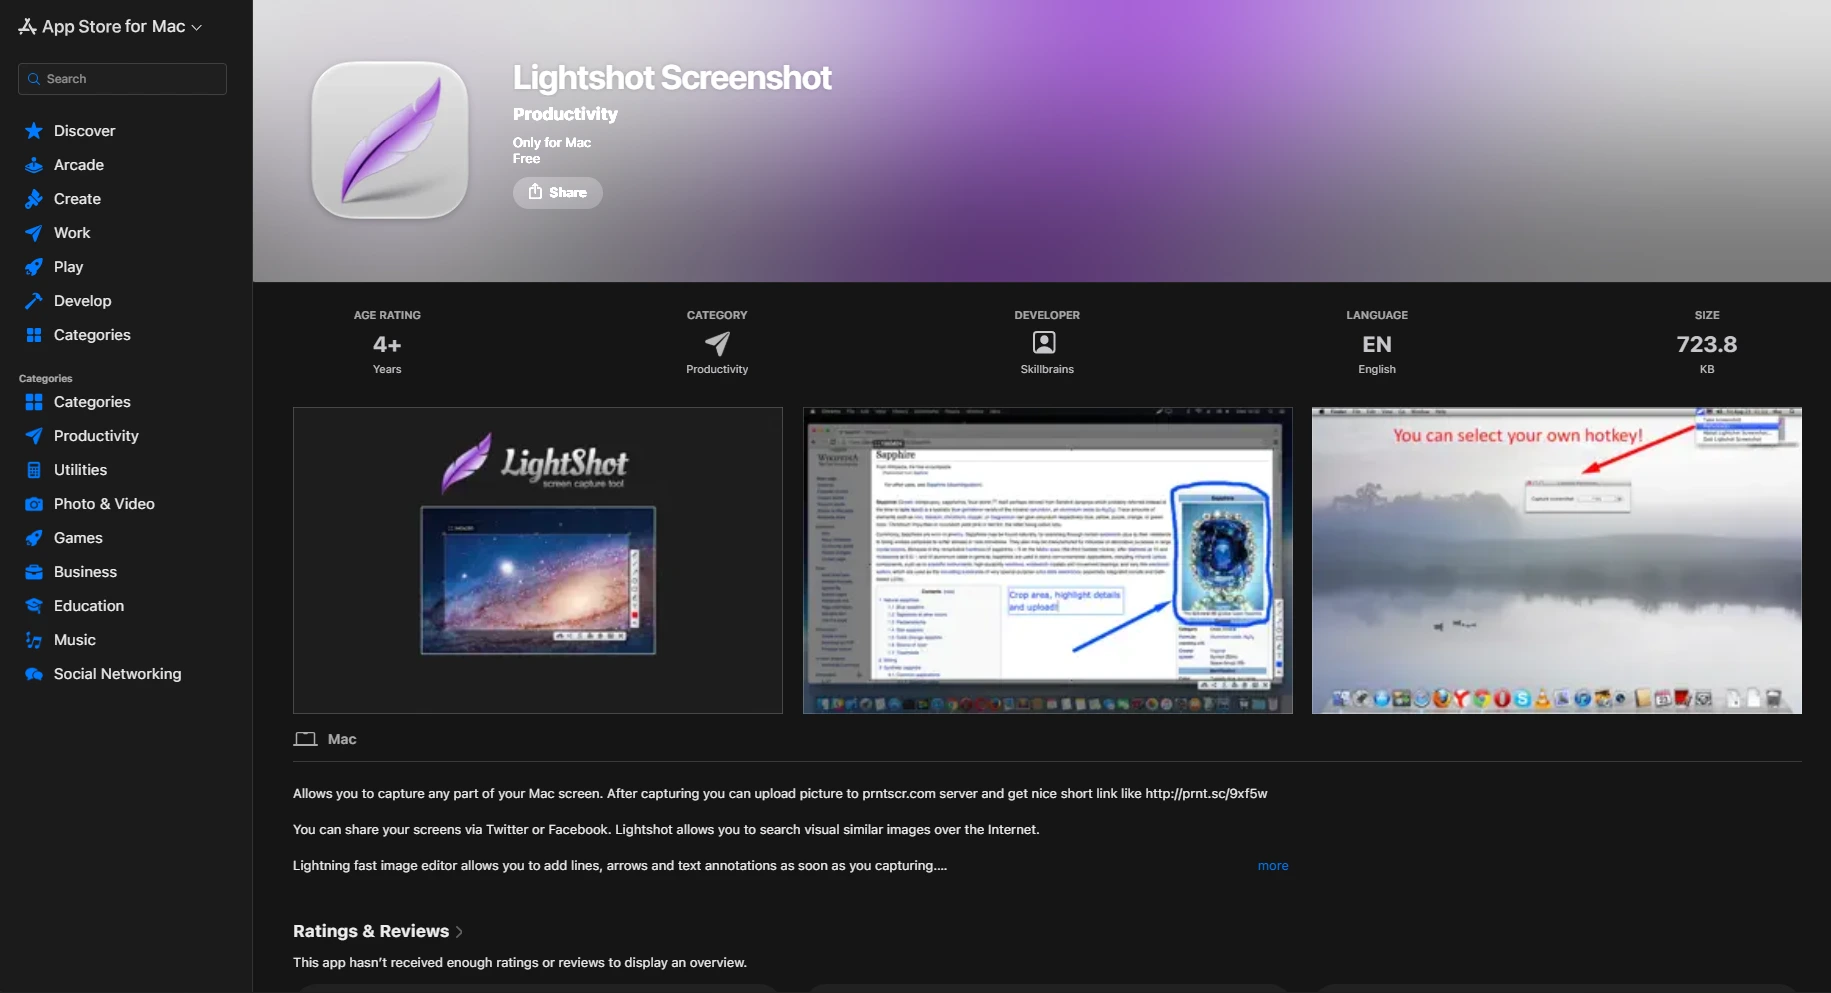
If you are looking for a fast and lightweight snipping tool for Mac, Lightshot is a simple free option. It lets you capture a selected area of the screen, add text or drawings, use shapes and colors, and search for similar images online.
Key Features:
- Captures customizable screenshots with a simple interface.
- Provides instant editing tools for annotations.
- Uploads screenshots to the cloud and generates shareable links.
- Features a search tool for finding similar images.
- Available on multiple platforms, including Windows, Mac, and browsers.
Pricing:
- Free Plan: $0 per month (The tool is completely free for all users with no paid tiers or hidden costs).
5. SnapNDrag Pro
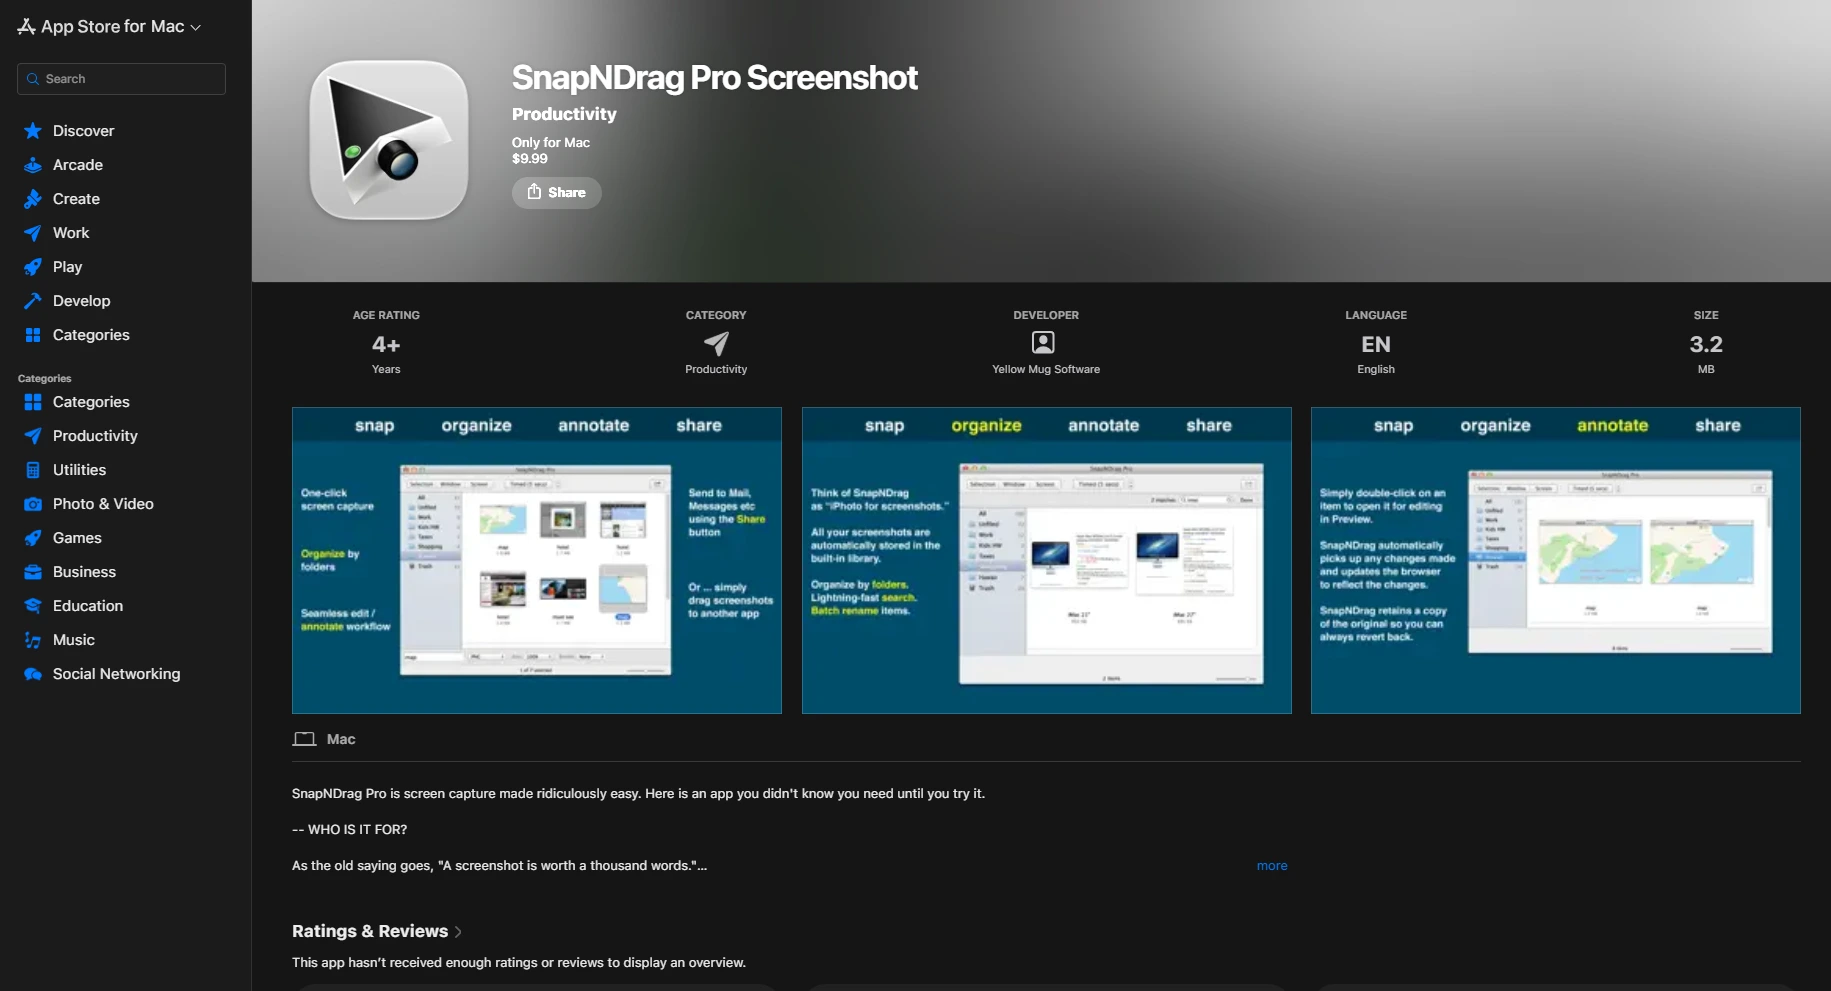
SnapNDrag Pro is another Mac snipping tool available in free and paid versions. The free version covers basic screenshot capture and file organization, while SnapNDrag Pro adds features such as screenshot scaling, ad removal, and global hotkeys.
Key Features:
- Captures screenshots with one-click options (window, selection, or timed).
- Maintains a library of all screenshots for easy organization.
- Includes annotation tools without altering the original image.
- Allows sharing via email, social media, and other apps.
- Supports batch renaming and customizable hotkeys
Pricing:
- Free Version: $0 (Includes basic capturing, library management, and file naming, but contains sponsor ads and lacks scaling features).
- SnapNDrag Pro: $9.99 (One-time purchase available on the Mac App Store; unlocks screenshot scaling, removes ads, and enables global hotkeys)
How to Take a Screenshot on Mac Without Third-Party Apps
Press Shift + Command + 5 (⇧+⌘+5) to open the screenshot toolbar. From there, you can choose different capture modes, record your screen, set a timer, and select the save location.
You can also use:
- Shift + Command + 3 for full-screen capture
- Shift + Command + 4 to capture a selected area
These built-in shortcuts work on MacBook Air, MacBook Pro, iMac, and other macOS devices.
Final Thoughts
Taking a screenshot of a selected area of a screen or window on a Mac is not a big deal anymore, as there are several snipping tools available for Mac OS. A user also doesn’t need to remember keyboard shortcuts when it comes to capturing Mac images.
Lightshot is a popular choice for quick screen snipping and instant sharing, especially for teams and collaborative work environments. You can simply choose the right snipping tool for Mac from the list above and make snipping easier than ever before.