
If you’ve ever opened a Google Doc and thought, “Why does everything look so cramped?” or “How do I make this page look cleaner?” Margins are one of those tiny formatting details that make a big difference in how your document looks.
The good news? Changing margins in Google Docs is super easy once you know where to look.
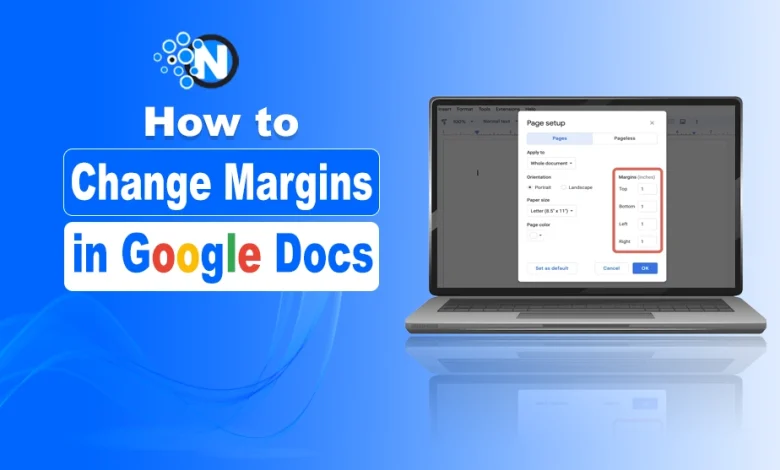
This blog post explains how to change margins in Google Docs using ‘the Ruler’ and ‘Page Setup’ options for better document formatting.
What are Margins in Google Docs
Margins in Google Docs are blank spaces in a document between the page edges and the content. They don’t have any specific function other than preventing documents from touching the boundaries of the document.
Personalization is the factor that enhances users’ engagement with written content. So, why do you stay dependent on Google Docs default settings? Make your own writing style and content design to make it look more attractive.
How to Put Margins in Google Docs – Simple Steps
If you are a newbie in Google Docs, then you may have no idea how to change margins in Google Docs. But don’t worry! This guide will have your back. Let’s start with accessing Google Docs:
Step 1- Access Google Docs by clicking https://docs.google.com/
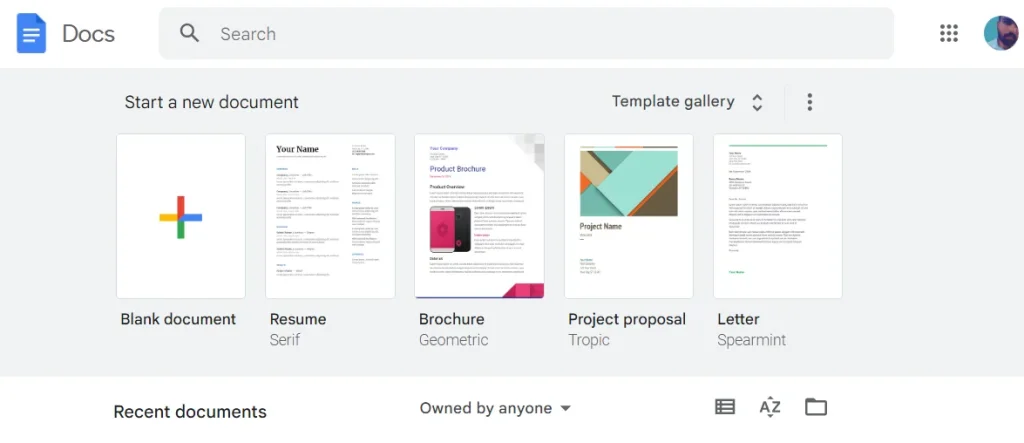
Step 2- Create a Blank Document
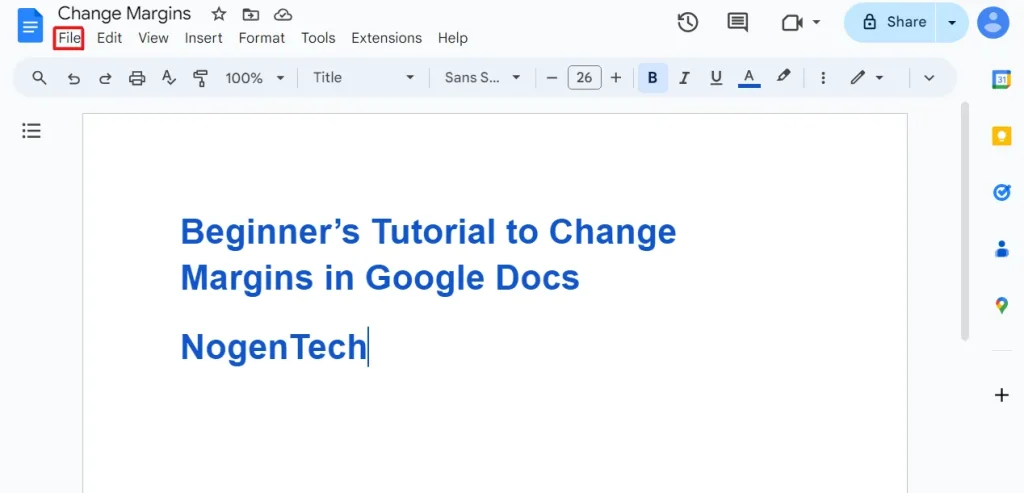
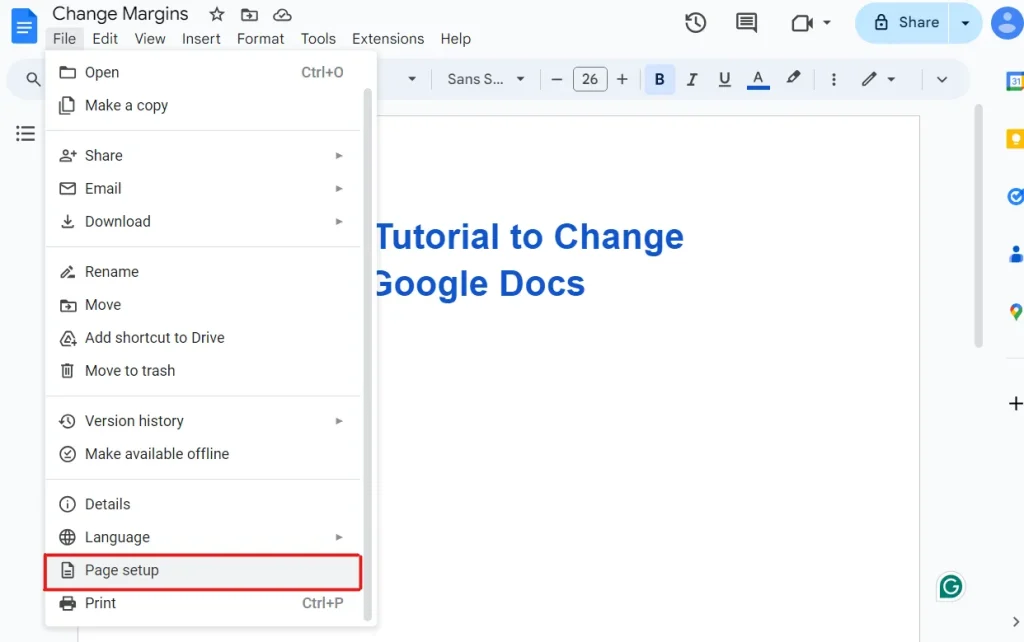
Step 3- Click on File
Step 4- Click Page Setup
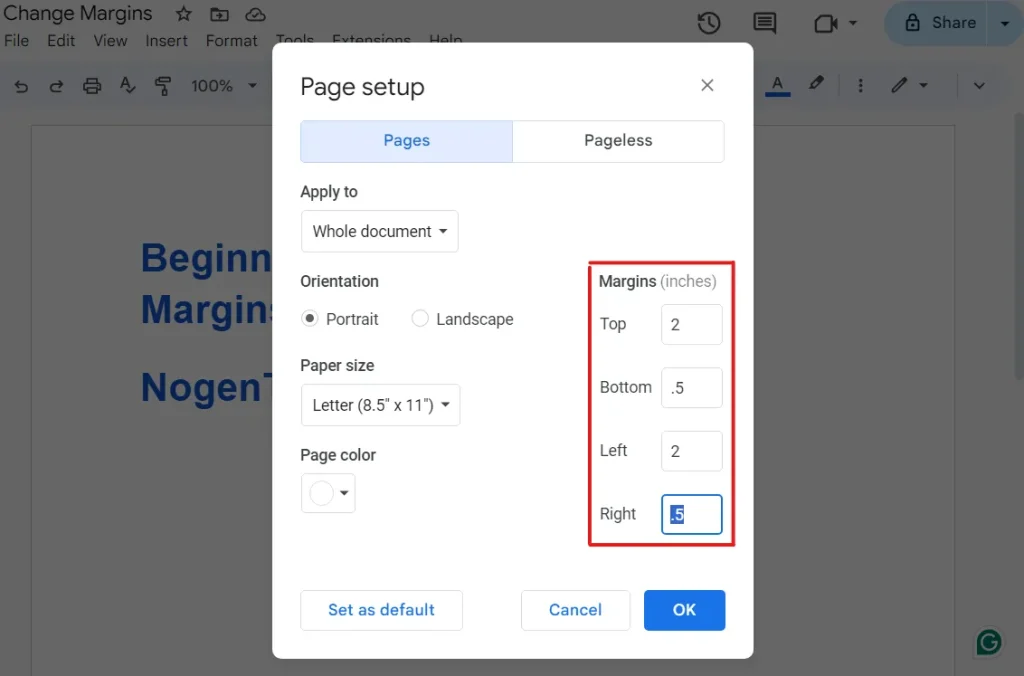
Step 5- Enter your margin values
You’ll see boxes for:
- Top
- Bottom
- Left
- Right
Type in the exact numbers you want (e.g., 1 inch, 2 cm, etc.).
I changed margins in Top 2, Bottom 0.5, Left 2, and Right 0.5.
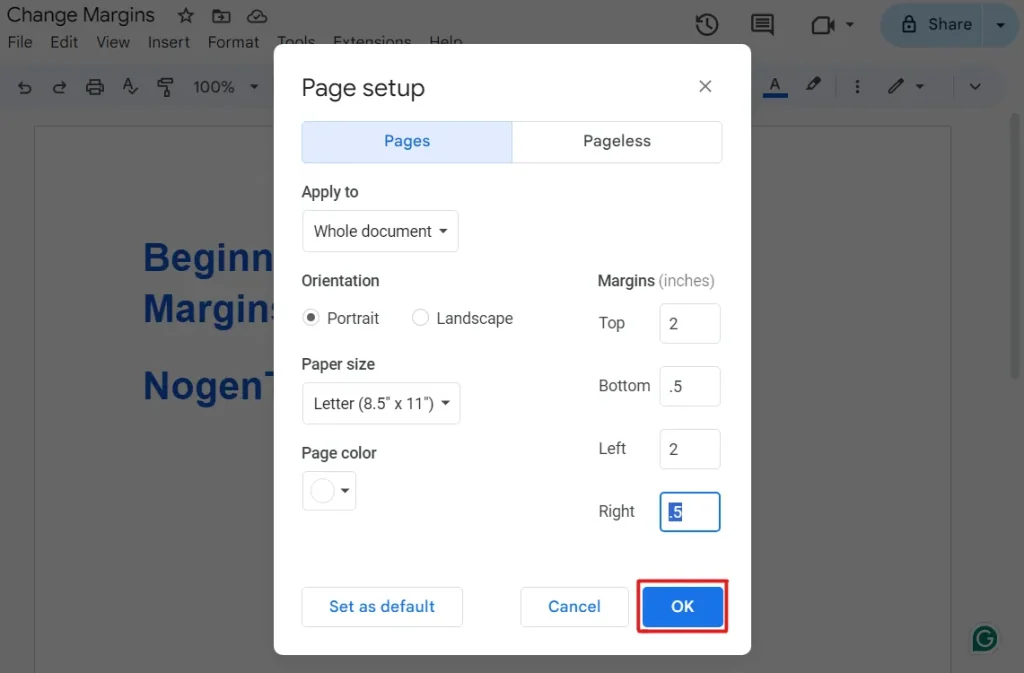
Step 6- Click “OK”
After putting your preferred margins, you are free to click the “OK” button.
How to Change Margins in Google Docs <strong>Using the Ruler (Fast & Easy)</strong>
This is the quickest way to adjust margins, perfect for beginners.
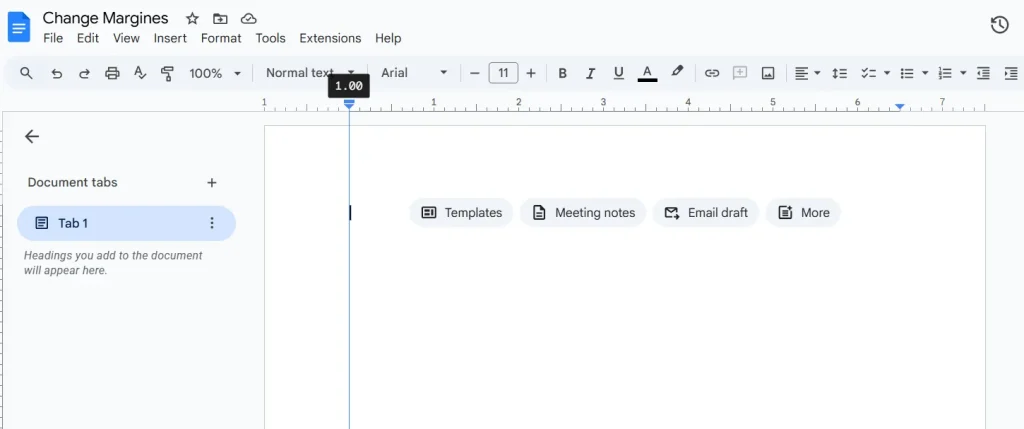
Step 1: Make sure the ruler is visible
At the top of your document, you should see a horizontal ruler.
If you don’t see it:
- Go to View
- Click Show ruler
Step 2: Adjust the left margin
- Look for the small blue triangle on the ruler
- Click and drag it left or right
- Your text will shift instantly
Step 3: Adjust the right margin
- On the right side of the ruler, find the matching blue triangle
- Drag it inward or outward to change the right margin
The Closing Remarks
Changing margins in Google Docs is one of those small skills that makes a big difference in how your document looks. Whether you prefer the quick drag‑and‑drop method or the precise Page Setup option, you now have both tools in your pocket.
Once you get the hang of it, formatting becomes less of a chore and more of a creative control panel.
FAQs
Q1- What are standard margins in Google Docs?
The standard margins in Google Docs are 1 inch for all sides: Top, Bottom, Right, and Left. Further, these margins are the same for all users, but they can change margins in page setup.
Q2- What is the margin in the layout?
The empty or blank spaces in the layout or page of a document are called margins. Users are free to optimize their writing piece by changing the page’s setup settings.
Q3- How do you explain margins?
I will explain margins as the crucial factor in deciding how your writing piece will affect others. (OR) Margins are just empty spaces and blank sides of the document that can’t be filled with words.
Q4- Do my setup margins affect my other documents?
Absolutely not. Your setup margins are for a specific document that can’t affect your other documents.
Q5- How to Change Margins in Google Docs to 1 Inch
- Go to File > Page setup.
- In the “Margins” section, type
1for the Top, Bottom, Left, and Right fields. - Click OK