Change Xbox Gamertag – A Step-to-Step Guide
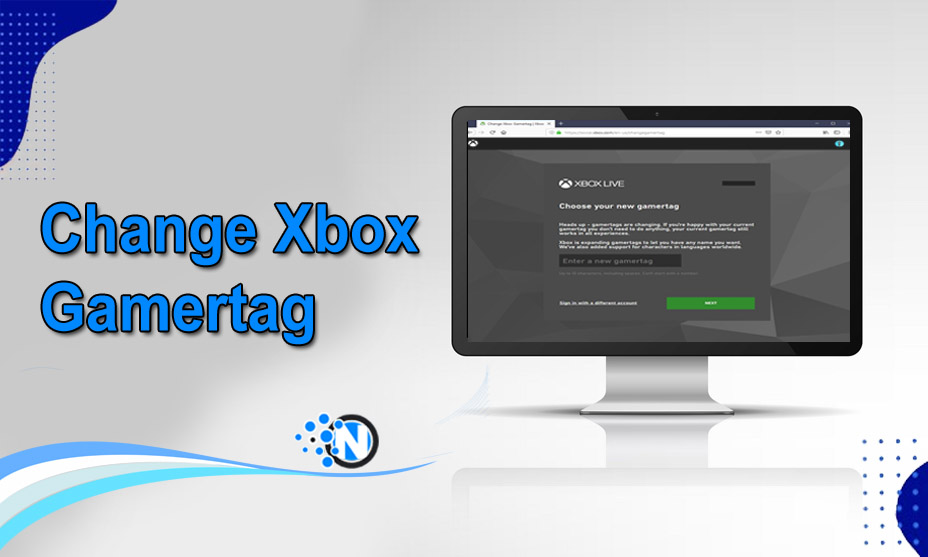
Although it is a bit tricky to change Xbox gamertag, performing this activity can help you bring personalization to your gaming identity. It doesn’t matter if you are looking for a new start or want to align your Gamertag with your interests and choices; you must be precise and accurate while taking the critical steps to carry out this activity properly. Otherwise, this simple procedure could become much more challenging and take a significant toll on time and effort. We have developed this guide to accommodate critical steps to change the gamertag on Xbox. It will make your gaming experience even more personalized.
Why is it Necessary to Change Xbox Gamertag?
An Xbox Gamertag is a unique username to represent the online gaming identity of a player’s Xbox Live Account. With the help of this identity., users can interact and compete with each other. Also, this identity helps them to communicate with other users to share the experience or leverage essential insights to boost the gaming experience. In multiplayer gaming sessions, they are displayed prominently, enabling players to identify each other effortlessly. Thus, if you want to create your unique identity in this widespread gaming world, you must change it to the one you like and admire the most.
How to Change Xbox Gamertag?
In the under-section, we have enlisted the step-by-step details on how to change Xbox Gamertag. The only requirement is to follow the details precisely so that you can have your desired name on the top of the multiplayer gaming session screen.
1 – Access the Xbox Dashboard
Firstly, you have to access your Xbox dashboard to change your Gamertag. Just turn on your console and sign in to your Live account by entering the credentials, like your current username and password. It will take you to your account. After signing in, look for the Xbox dashboard and click on it, as it will provide you with a multiple-option menu.
2 – Go to the Profile Section
Secondly, you have to go to the profile section to change Xbox Gamertag. Locate the profile tab on the dashboard and click on it to access it. Generally, it is represented by an icon or your picture if customized already. By clicking on this tab, you can have your hands on the settings and other options related to your Xbox Live profile.
3 – Choose “Customize Profile”
In the profile section, you will see a drop-down featuring multiple options regarding the settings and customization of your Xbox Live experience. Scroll them until you find the Customize Profile button. Tap on it to unlock further possibilities. This is where you can change Xbox Gamertag and customize other aspects of your profile.
4 – Select “Change Gamertag”
In the previous section, we talked about clicking on the Customize Profile button on the Xbox dashboard to access other features. After performing this activity, you will come across several options. Navigate to the one that showcases the change Gamertag button. By clicking on it, you can begin carrying out this activity and set the username to something new and the one that fits your preferences more.
5 – Check Gamertag Availability
After clicking on the Change Xbox Gamertag option, as mentioned previously, you will see a prompt that will ask you to enter a new username. Type in your desired Gamertag and click on the proceed option. The system will automatically run its algorithms to determine whether the name is available. If someone has already chosen your username, you have to try again. Continue doing this until you have your hands on the available Gamertag.
6 – Pay Attention to Xbox Live Policies
Now, you have changed your Xbox Gamertag. Before finalizing the changes, paying attention to Xbox Live policies is crucial to avoid any unwanted damage. By ensuring that your selected username doesn’t promote any unethical thinking or message or comply with the community standards, you will be able to follow the terms of service. The Xbox Live has issued guidelines to maintain a positive gaming environment, which could be impossible otherwise. That’s why you must take essential care of them when changing Gamertag.
7 – Confirm the Change
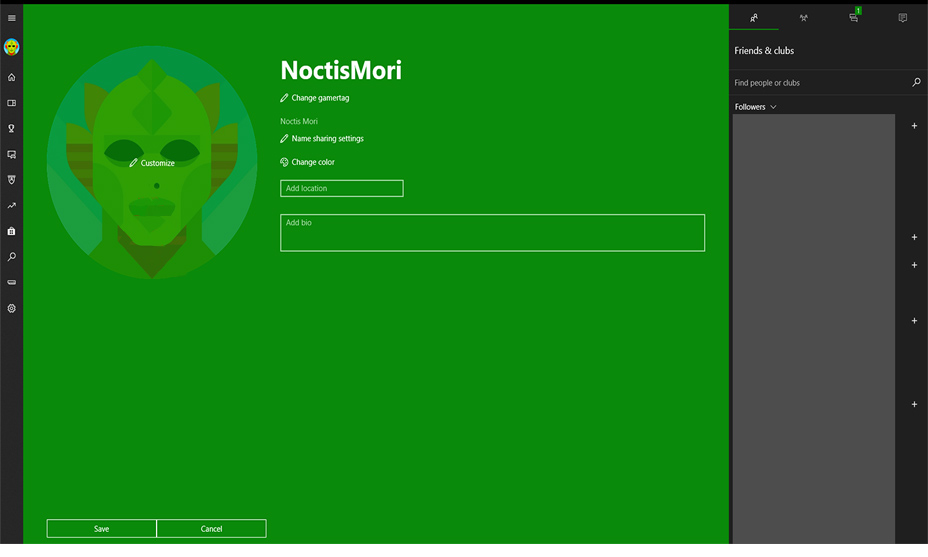
After checking the availability of the game and checking its compatibility with the Xbox Live policies, you have to confirm the changes. When the system asks you to confirm the changes, it would be best to take a moment to review the customization. Make sure that you have entered the exact Gamertag you want on your profile. After satisfaction, confirm the prompt to change Xbox Gamertag.
8 – Wait for the Update
After confirming the changes, the system will take its time updating them. It will take from a few moments to some hours. You must be patient and wait for the changes. Once updated, you will see your desired Gamertag across your Xbox network.
9 – Verify the Change
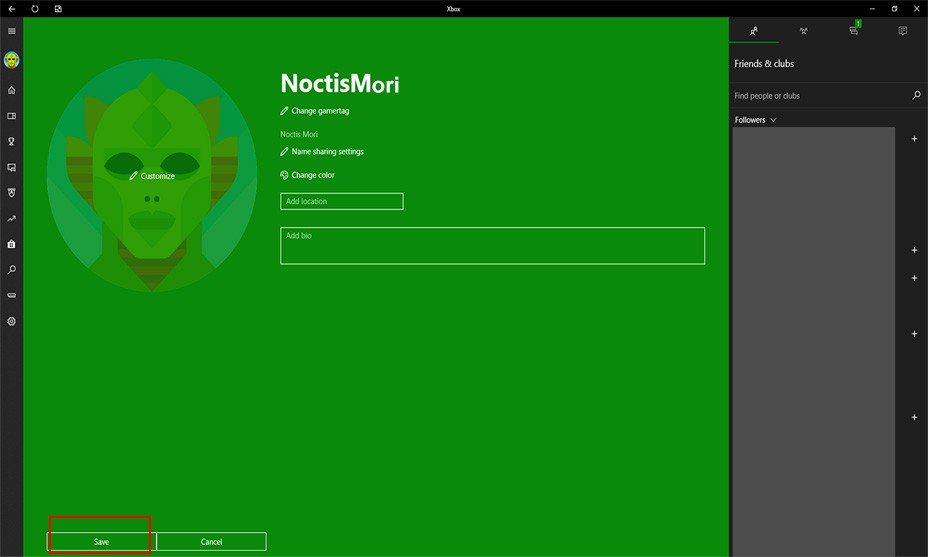
More than confirming the prompts to change Xbox Gamertag is required. You must review and verify the changes to ensure the new username is updated successfully. Get back to your Xbox Dashboard and access your profile. Check for the new Gamertag in your profile’s information. It will help you to confirm that the changes are done.
10 – Share Your New Gamertag
After changing your Gamertag, you must share the new one with your friends and relatives. As a result, they can find you easily during multiplayer gaming sessions. It will improve your overall gaming experience.
Final Verdicts
It is necessary to change Xbox Gamertag to personalize your gaming experience. By customizing the default identity to the one suitable to your preferences and interests, you can take entertainment and amusement to another level. Although the whole process is simple, you must understand the critical portions to ensure that you can get the desired name effortlessly. Above all, some considerations are there to be followed, including compliance with the community standards and Xbox Live policies. All this can help you dive into the more immersive and personalized gaming world.


