Ever watched a 60-second video and thought, “Wow, I totally get it now”? That’s the magic of a well-crafted explainer video.
Whether you’re launching a new product, simplifying a complex service, or just trying to grab attention online, explainer videos are one of the most powerful tools in your marketing arsenal.
In this scroll-happy world, attention spans are shorter than ever, and you’ve got seconds to make an impression by making your videos sticky.
In this blog post, I will walk you through every step of explainer video production, from concept to final cut, to help you create videos that attract.
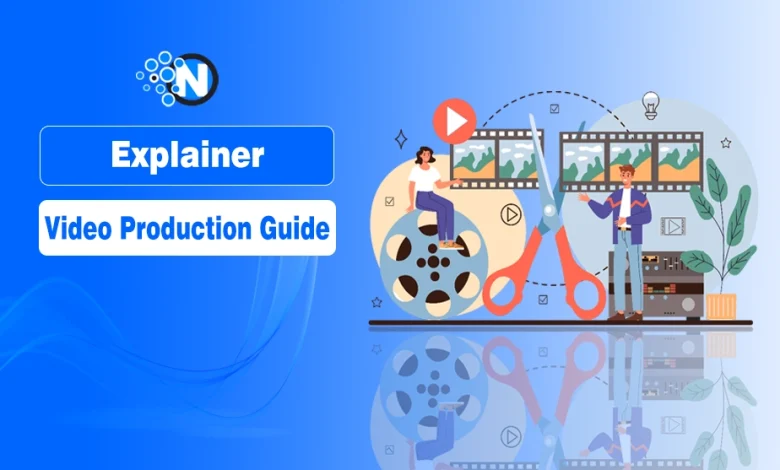
What is an Explainer Video?
An explainer video is a short (usually 60 seconds) and engaging video that breaks down a product, service, idea, or process in a simple and easy-to-understand way. Explainer videos can be a great tool to:
- Simplify complex topics
- Boost engagement and retention
- Help convert viewers into customers
Key Steps in Explainer Video Production
1. Understanding the Purpose
It is essential to begin the explainer video production process with a clear understanding of what the project aims to achieve. Identifying the target audience and crafting a compelling message are key steps in this process. To whom will this video be shown, and what must they understand by the end of it? This is vital information, so having clarity will guide the remaining stages of production.
2. Creating the Script
The script is the foundation of your explainer video. It must be brief, simple to read and very engaging. And then, write down the points you want to cover, and go through the order you will use to get viewers to the next point. Although the message might not be easy to understand, it can be more easily digested with simple language and without jargon. Write a clear script, read it, and edit it until it gives the message that you are attempting to communicate.
3. Designing the Storyboard
The storyboard is the pictorial version of the script. It specifies every scene and demonstrates how the video will progress. In this stage, you must discuss the main moments and visuals. It aids in the planning of camera placements, transitions, and visual aesthetics. It also creates a clear concept so that everyone involved in production is working from the same page.
4. Choosing the Visual Style
Visual style establishes the atmosphere and emotion of your video. This includes choosing animation styles, color palettes, and character designs. Your style needs to reflect that of your brand and resonate with your audience. Whether it’s a cartoony animation or a corporate video, ensure that all your videos maintain the same visual identity.
5. Recording the Voiceover
Recording of a voiceover is an essential part of an explainer video. In this case, it is essential to select the appropriate voice talent that will help deliver the message. The voice must be appropriate to the tone of the script, and it must also sound as though it belongs to the right person. Use a proper accent and do not speak in a hurry. Recording in a professional studio may improve the sound quality and the professional polish.
6. Creating the Animation
Animating the storyboard brings it to life. This is where artists will take the storyboard and script, and bring all the images to life through software. Talented animators meticulously animate every detail, including transitions, to create visually engaging and enjoyable content. Focusing on the little things matters because they contribute significantly to the overall video quality. Share quality animation-style and timing.
7. Adding Music and Sound Effects
Audio is essential in adding emotional weight to a video. Background music establishes the atmosphere while sound effects offer realism and texture. You need to pick music that fits your visual style and story. It should complement the voiceover and should not dominate it. Sound effects should be used sparingly, as they can be distracting.
8. Editing and Refining
In the video editing phase, you bring all the visuals, voiceover, music, and sound effects into a cohesive unit. Editors make certain that the message has the right pace and flow. Any portion that is not required is cut off to shorten the video. This is where feedback from team members can be useful to have a polished final cut.
9. Reviewing and Testing
Pre-analyze your video before uploading. Quality Control: Checking that there are no errors related to animations, sounds, and timing. When you have a test video, you can test it with a sample audience to get a fair idea of how well it works for viewers. Reviews can reveal elements that can be improved, allowing for last-minute tweaks.
It’s Time to Create Your Explainer Video
Explainer video production isn’t about flashy animations; it’s about clarity, connection, and conversion. When done right, it turns confusion into understanding and viewers into buyers. Whether you DIY or hire a pro, following these steps will help you create videos that actually work and convert. Explainer videos can be a powerful marketing tool when used effectively.