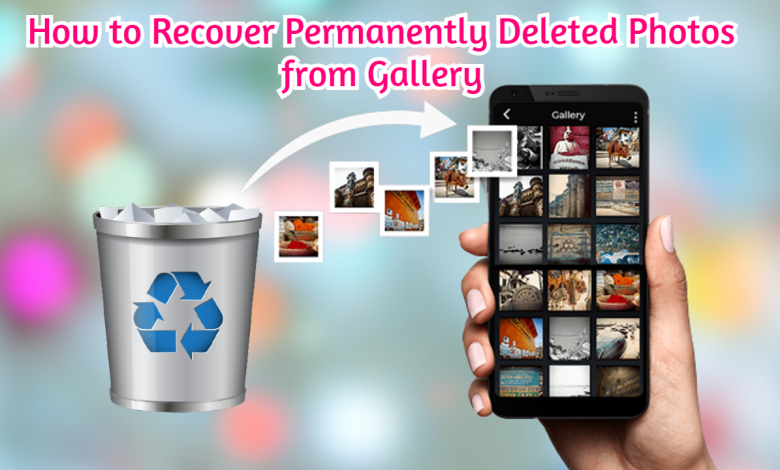
Basic Guide on How to Recover Permanently Deleted Photos from Gallery
Every day you click many pictures of yourself and other things. In some cases, you couldn’t count the photographs at the end of the week that you have previously taken at a specific occasion like a party or wedding function. You delete some pictures to get free device storage, and sometimes you regret that decision.
At the point when you are erasing a photograph, it seldom erases itself immediately. The picture can be the only photo of your grandfather or the last shot of your brother when he was leaving for a World tour.
Photos taken on your Android machine are the most valuable and rare photos of your remarkable life. As you probably know, some photographs might vanish from your gadget for no obvious explanation, and you have no clue about that. These incidents can happen to anyone.
There are numerous ways of recovering forever erased photos from your gallery. Some of them are provided below:
Using Google Photos for Backup
If you are an Android user, you have already the Google Photos app on your device. If you are an Android user, you have already the Google Photos app on your device. It would be best to draw in the “support and sync” as an Android client. You can recover the photos you unintentionally erased.
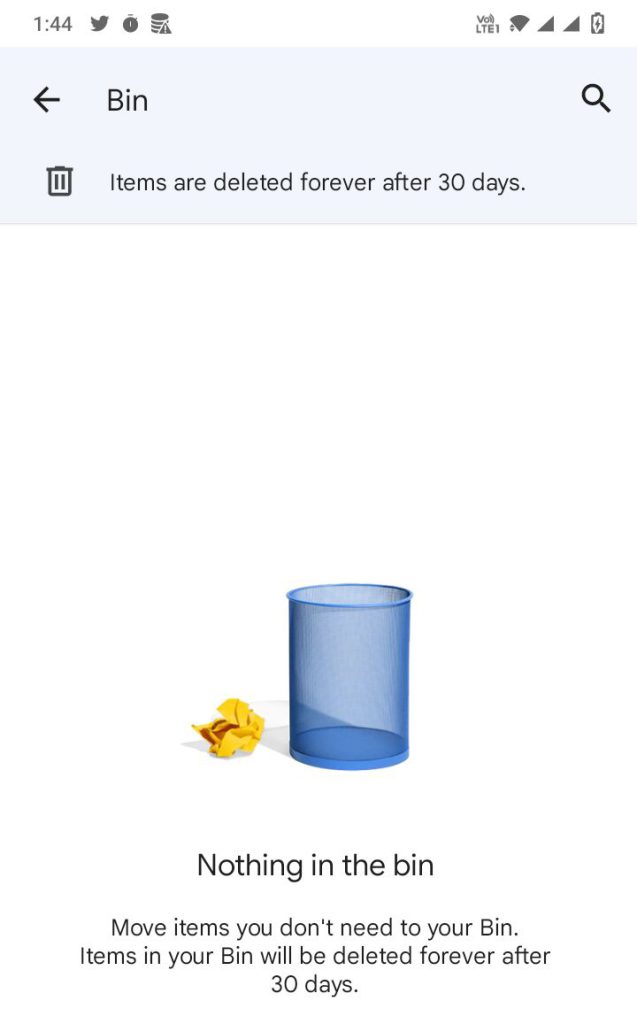
- Open the Google Photos app on your Android device first.
- Look for the “Bin” on the left board, where eradicated photos are found.
- Select the pictures you erased and decide what you want to do, “Delete” and “Restore”.
- Select “Restore” to recover the photos you deleted.
Recovery Without Backup
To locate your deleted and concealed photos, you should have a powerful recovery tool to force out the deleted photos from your memory to discover your deleted and suppressed photos. When pictures are eradicated, they are saved to internal memory before, as of late, made data overwrites them.
DroidKit is what you were searching for in the modern era. With DroidKit, you can study and recover erased photographs without reinforcement from your Android Gallery. Better than their Android information recuperation apparatuses on the lockout, you can recuperate erased photos from the Android exhibition without establishing your Android device. Comprehensively Android solution tool can unlock your Android device, it can solve your system problems, etc. Now you will install the latest version of DroidKit and see its latest features on Android data recovery.
Recover up to 13 kinds of information from Android devices, including photos, texts, etc. Quick recovery mode – quick sweep and find the deleted photographs from the Android Devices without root. You need to audit and pick the data you want to recover which is lost. The accompanying advances will be followed given underneath:
- In the first place, you need to send off DroidKit on your PC and connect with your Android gadget.
- Check that Quick Recovery from the Device. Select data to scan sharply; you can select all types of data or Photos only.
- Ensure that you are associated with your Android, and snap-on Start.
- On your gadget, DroidKit will check chosen photographs. Choose to Device or To PC to recover photos.
Using Google Drive for Backup
Online data storage providers allow you to store your data online, and you can access data online. Google Drive is one of them, which benefits keeping and simultaneous service. It provides online storage where you can save your photos, videos, and documents. You can access your files using different devices. You can also use Google Drive for backup purposes, and you can recover deleted photos on Android Gallery. For this reason, you ought to introduce Google Drive on your gadget. To recover deleted photos utilizing Google Drive, we will go with the flow:
- First, you have to login into your Google Drive. You have to give your email and password to the login panel.
- Once you log in, you have to look for the “Bin” folder to continue. The “Bin” folder contains photos.
- Select those photos you want to recover, and a pop-up message appears on your screen.
- Tap on the “Restore” choice, and you will know that it will naturally restain the chosen photos in the first area.
Using Tenorshare UltData for Backup
For iPhone users, it is not easy to recover data, so when you want to recover photos, videos, and other documents, you will use some software and connect your device with the Mac Book or Pc. Here are the following steps which you will follow if you are using this device:
- You should start this process by downloading Tenorshare UltData. After installing this program, you will continue with the launching process. Select “Recover Data from IOS Devices” from the given options.
- Connect your device with your pc.
- A screen will show up beneath once your gadget is associated with the Tenorshare UltData.
- Select photos to recover. For this, the program will scan these photos first.
- After preview, recover your lost photos from your iPhone.
Read More:
Using Dropbox for Backup
On your device, go to the Dropbox app first and launch it. You have to navigate the folder by the name where you kept your photos. After opening this folder, select the deleted pictures you want to recover. On the right side, you will navigate three dots on your device. Tap on “Save to Device” for recovery. The recovery process completes by doing it.
Conclusion
The response to recuperating from all-time erased photographs from the exhibition was clear. There are many ways to handle these types of queries. But besides the typical options, you can use any one which satisfies you. These programs are 100% verified.